canSpringFling (Expert)
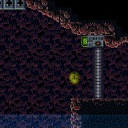
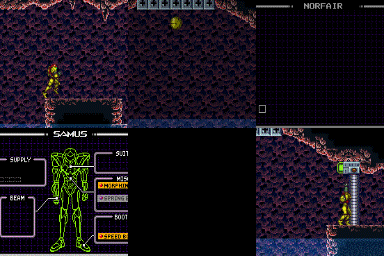
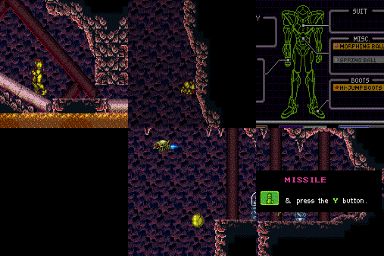
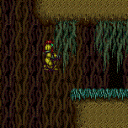
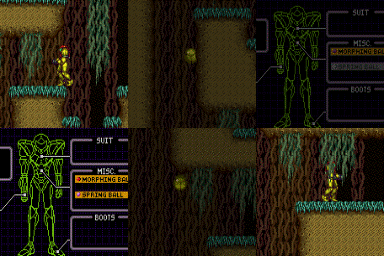
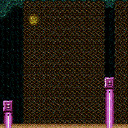
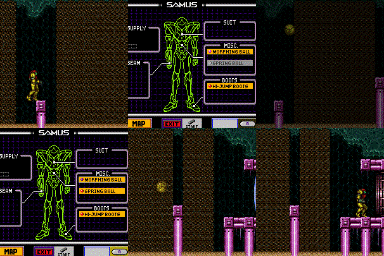
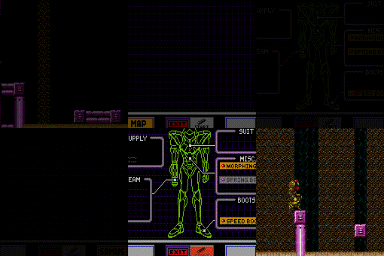
The ability to gain extra distance meerly by turning Springball on or off. When equipping or unequipping Springball while Morphed, Samus' speed is reset. If rising (and not in liquid physics), the horizontal speed is set to full roll speed. If falling, the vertical speed is set to zero and horizontal speed is reset unless SpeedBooster is equipped.
Dependencies: canDisableEquipment
Strats ()
|
From: 1
Left Door
To: 2
Right Door
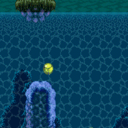
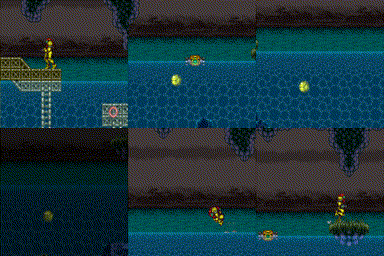
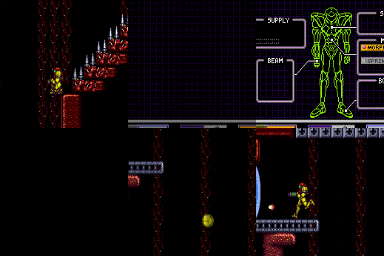
Notable: true Build up run speed and then use controlled springball bounces to cross the ocean to the far right ledge, and then use SpaceJump to reach the door. Mockball down the submerged ramp and begin SpringBall bouncing under water using the platforms. Disable SpringBall after the final jump once Samus starts falling again as a way to gain extra speed. Requires: "canTrickyJump"
"canSpaceJumpWaterBounce"
"canSpringBallBounce"
"canSpringFling"
"canMockball"
{
"or": [
"canDownGrab",
"canWalljump"
]
}
|
|
From: 2
Right Door
To: 3
Top Junction
X-Ray climb until Samus is a little over halfway off screen; the position is not precise. Face right, then do a turnaround buffer spin jump into a Spring Ball jump to reach the ledge. The pause input can be pressed at the same time as the turnaround. It helps to do an airball to gain horizontal speed. The jump input after pausing should not be buffered, in order to allow a little time for the spring fling horizontal speed to take effect. Entrance condition: {
"comeInWithDoorStuckSetup": {}
}
Requires: "canXRayClimb" "canTrickyJump" "canLateralMidAirMorph" "canTrickySpringBallJump" "canSpringFling" |
|
From: 2
Right Door
To: 3
Safe Block in the Middle of the Room
Requires: {
"or": [
"h_canTrickySpringwall",
{
"and": [
"h_canMaxHeightSpringBallJump",
"canNeutralDamageBoost"
]
}
]
}
{
"spikeHits": 1
}
|
|
From: 4
Small Ledge Below Left Door
To: 1
Left Door
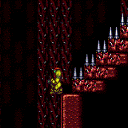
Notable: true Jump from the safe spot on the spikey stairs and use the momentum change from equipping SpringBall to move closer to the door's platform. Then SpringBall jump to reach the door. Requires: "canTrickySpringBallJump" "canSpringFling" |
|
Entrance condition: {
"comeInRunning": {
"minTiles": 4,
"speedBooster": true
}
}
Requires: "canSpringFling"
"canLateralMidAirMorph"
"canCarefulJump"
{
"heatFrames": 120
}
|
|
From: 4
Center Platform Junction
To: 3
Junction Left of Green Gate
Requires: "canCarefulJump" "canLateralMidAirMorph" "canSpringFling" "SpeedBooster" |
|
From: 5
Small Platforms Junction
To: 1
Left Door
Requires: "h_canTrickySpringwall" |
|
Notable: true A particularly precise springwall. Aim the walljump at the bottom of the second sloped wall fixture, where it looks like you cant jump off of. Optimize pause timing, use an instant morph, and get a max height springball jump. A delayed wall jump helps. Requires: "HiJump" "h_canTrickySpringwall" "canPreciseWalljump" "can3HighWallMidAirMorph" |
|
From: 1
Top Right Door
To: 3
Acid Chozo Statue (locked)
Begin with SpeedBooster unequipped, and run&jump over the acid into an airball. Once Samus begins falling, equip SpringBall and SpeedBooster to safely land on the other side near the statue. Requires: "canSpringFling"
"canDisableEquipment"
"SpeedBooster"
"canTrickyJump"
"canLateralMidAirMorph"
{
"heatFrames": 210
}
|
|
From: 4
Junction Below Bomb Blocks
To: 2
Top Right Door
This is possible by jumping on the crumble blocks into a mid-air spring ball jump, or by avoiding them. The crumbles can be avoided by starting with either an air ball, a 3 tile high mid-air morph, or a low spring wall. These are generally safer, as bouncing on the crumble blocks with Spring Ball is trivial. Requires: {
"obstaclesCleared": [
"A"
]
}
"canTrickySpringBallJump"
{
"heatFrames": 250
}
{
"or": [
{
"and": [
"can4HighMidAirMorph",
"canSpringFling"
]
},
"canLateralMidAirMorph",
"canCrumbleJump",
{
"and": [
"h_canTrickySpringwall",
"canPreciseWalljump"
]
}
]
}
|
|
From: 2
Middle Left Door
To: 6
Bowling Chozo Statue (locked)
Start with Springball disabled. Jump over the spikes and midair morph. SpringFling on the way down, SpringBall bounce through the spikes, then SpringFling again to reach the statue taking only one spike hit. Entrance condition: {
"comeInRunning": {
"minTiles": 12,
"speedBooster": true
}
}
Requires: "canTrickyJump"
"canSpringFling"
"canLateralMidAirMorph"
"canIframeSpikeJump"
{
"spikeHits": 1
}
|
|
From: 2
Bottom Right Door
To: 6
Middle Junction Near Top Left Pirate
The second jump is harder than a normal mid-air springball jump. Use either a stationary lateral mid air morph, to gain enough horizontal momentum, or a SpringFling to reduce Samus' fall speed as soon as it begins to build up. Requires: "canSuitlessMaridia"
"canTrickySpringBallJump"
{
"or": [
"canStationaryLateralMidAirMorph",
"canSpringFling"
]
}
{
"or": [
"canTrickyJump",
{
"enemyDamage": {
"enemy": "Pink Space Pirate (standing)",
"type": "contact",
"hits": 1
}
},
{
"enemyKill": {
"enemies": [
[
"Pink Space Pirate (standing)"
]
],
"explicitWeapons": [
"Plasma"
]
}
}
]
}
|
|
Requires: "canSpringwall" "canSpringFling" Clears obstacles: B |
|
Time a pause before jumping to give a significant momentum boost in order to reach the Grapple Block. Requires: "h_canMaxHeightSpringBallJump" "canSpringFling" Clears obstacles: B |
|
Requires: "canSuitlessMaridia"
{
"or": [
"HiJump",
{
"and": [
"canTrickySpringBallJump",
{
"or": [
"canCrouchJump",
"canSpringFling",
"canStationaryLateralMidAirMorph"
]
}
]
}
]
}
|
|
Requires: "canSuitlessMaridia" "h_canSpringFling" "canTrickySpringBallJump" |
|
Notable: true Stay out of the water, and by extension the sand, of Colosseum by using the spikes as platforms. Morphing before landing on the spikes helps to be able to control the knockback. The final spike jump (which would be the most difficult) is avoided by doing a crouch jump into spring ball jump into IBJ to reach the left door. Perform the spring ball jump near max height. Place the first bomb between about 4 and 6 frames after the spring ball jump; ideally it should be just above the water line. Press pause between about 5 and 10 frames after placing the bomb, to disable Spring Ball (a 'spring fling', to reset fall speed). Place the second bomb soon after regaining control, while the game is fading back in. Requires: "HiJump"
"canPreciseWalljump"
"canIframeSpikeJump"
{
"spikeHits": 2
}
"canNeutralDamageBoost"
{
"or": [
"canHorizontalDamageBoost",
{
"spikeHits": 1
}
]
}
"h_canMaxHeightSpringBallJump"
{
"or": [
"canSpringFling",
"canInsaneJump"
]
}
"canBombJumpWaterEscape"
"h_canJumpIntoIBJ"
|
|
From: 2
Right Door
To: 4
Top Right Ledge Junction
There is just enough distance for a MidAir SpringBall jump to reach without HiJump. Requires: "Gravity"
"canSpringBallJumpMidAir"
{
"or": [
"HiJump",
{
"and": [
"h_canMaxHeightSpringBallJump",
"canSpringFling"
]
}
]
}
|
|
From: 5
Top Junction
To: 4
Top Right Door
Notable: true Roll off the above ledge and use both the vertical speed resets from first (un)equipping SpringBall and then by unmorphing in order to reach the door. Pause shortly after rolling off the ledge, after falling for 1 tile. The timing is very precise. A downback helps by shrinking Samus' hitbox. Requires: "canInsaneJump" "h_canSpringFling" "canResetFallSpeed" "canDownBack" |
|
From: 4
Junction Below Sand Entrance
To: 2
Right Door
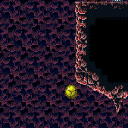
Notable: true On the left side of the raised platform, jump for max height. Lateral Midair Morph for horizontal momentum, and perform the springball jump the moment before touching the sandfall. Pause again to disable springball as soon as possible. Requires: "canSuitlessMaridia"
"HiJump"
"canTrickySpringBallJump"
"canStationaryLateralMidAirMorph"
"canSpringFling"
"canPlayInSand"
{
"or": [
{
"enemyDamage": {
"enemy": "Evir",
"type": "particle",
"hits": 1
}
},
{
"enemyKill": {
"enemies": [
[
"Evir"
]
],
"explicitWeapons": [
"Plasma",
"Super",
"PowerBomb"
]
}
}
]
}
|
|
From: 5
Junction Above Grapple Block
To: 2
East Leg Right Door
Notable: true Wait the water tide to reach its peak, then crouch jump into a spring ball jump into an IBJ. Perform the spring ball jump near max height. Place the first bomb between about 4 and 6 frames after the spring ball jump; ideally it should be just above the water line. Press pause between about 5 and 10 frames after placing the bomb, to disable Spring Ball (a 'spring fling', to reset fall speed). Place the second bomb soon after regaining control, while the game is fading back in. When close to the top, perform a spring ball jump to reach the ledge; release jump as soon as Samus is high enough to clear the ledge, in order to avoid taking a Menu hit. Requires: "HiJump" "h_canMaxHeightSpringBallJump" "canSpringFling" "canBombJumpWaterEscape" "canDoubleBombJump" "h_canJumpIntoIBJ" |
|
From: 1
Left Door
To: 5
Left Pillar Junction
Notable: true Enter with at least 1 tile of run speed from an air room, with Speedbooster unequipped. Jump from near the end of the runway (though a jump from 1-2 tiles away from the end can still work). Press pause while crossing the narrow first sandfall, then perform a lateral mid-air morph after exiting the sandfall. Equip both Spring Ball and Speed Booster, and perform a mid-air Spring Ball jump at somewhere close to the maximum height. Unequip Spring Ball while descending through the wide second sidefall. Entrance condition: {
"comeInRunning": {
"speedBooster": true,
"minTiles": 1
}
}
Requires: "canCrossRoomJumpIntoWater" "canPlayInSand" "canLateralMidAirMorph" "canTrickySpringBallJump" "canSpringFling" |
