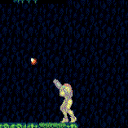
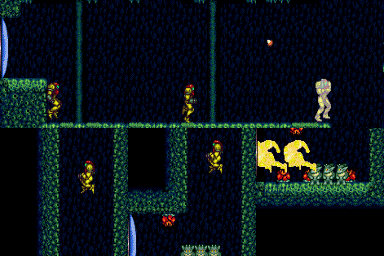
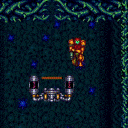
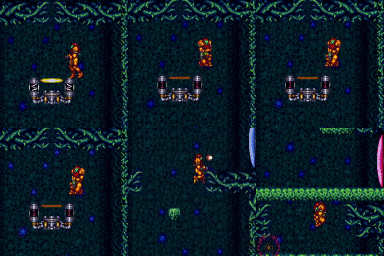
canMoonfall (Very Hard)
Strats ()
|
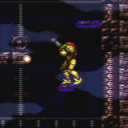
Notable: true The bomb blocks can be broken by spinjumping with Screw attack and holding right, if moonfall makes Samus clip through the platform. Use the small blue platform 2nd from the top on the right side. Requires: "Morph" "ScrewAttack" "canMoonfall" |
|
From: 2
Right Door
To: 4
Middle Junction (Left of Morph Tunnel)
Moonfall against the Chozo statue to clip into the Morph Tunnel, past the Bomb block. Entrance condition: {
"comeInWithStoredFallSpeed": {
"fallSpeedInTiles": 1
}
}
Requires: "Morph" "canMoonfall" |
|
From: 7
Below Power Bomb Blocks - Top Right Door
To: 8
Below Power Bomb Blocks - Bottom Left Door
Come in with a shinecharge, and perform a moonfall off the ledge. While falling, fire a shot at the door and immediately activate the shinespark wind-up, to horizontally spark through the door. Entrance condition: {
"comeInShinecharged": {
"framesRequired": 140
}
}
Requires: "canMoonfall"
"canShinechargeMovementTricky"
{
"shinespark": {
"frames": 12
}
}
Exit condition: {
"leaveWithSpark": {}
}
|
|
From: 9
Right Etecoon Shaft - Top Left Door
To: 10
Right Etecoon Shaft - Bottom Left Door
Notable: true Run from left to right to gain a shinecharge, then immediately moonfall down the shaft. There is just barely enough time to shoot the door open (if not already open) and spark out. Requires: {
"canShineCharge": {
"usedTiles": 17,
"openEnd": 0
}
}
"canMoonfall"
"canShinechargeMovementComplex"
{
"shinespark": {
"frames": 12
}
}
Exit condition: {
"leaveWithSpark": {}
}
|
|
From: 12
Above Power Bomb Blocks - Main Junction
To: 13
Below Power Bomb Blocks - Main Junction
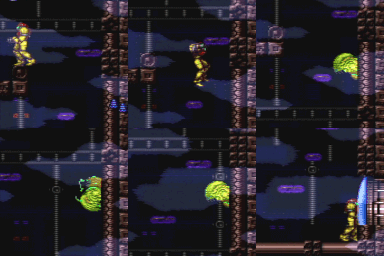
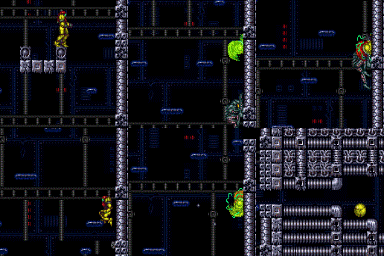
Notable: true Moonfall on the Green Brinstar Elevator Platform to build up enough speed to fall through the Power Bomb Blocks below. Moonfall so as to stay on the platform, break spin, and turnaround between 70 and 76 times total. Turns cannot be too fast or too slow. When falling, avoid the platform in the center of the room by falling towards the right. Clip through the bottom right platform by turning around at the correct time. Then hold down to clip through the Power Bomb Blocks. Requires: "canMoonfall" |
|
From: 3
Left Side - Bottom Middle Door
To: 5
Bottom Door
Entrance condition: {
"comeInWithStoredFallSpeed": {
"fallSpeedInTiles": 1
}
}
Requires: "canMoonfall" |
|
From: 4
Left Side - Bottom Door
To: 5
Bottom Door
Entrance condition: {
"comeInWithStoredFallSpeed": {
"fallSpeedInTiles": 1
}
}
Requires: "canMoonfall" Bypasses door shell: true |
|
From: 2
Middle Left Door
To: 7
Junction Below Power Bomb Blocks
Moonfall twice to clip through the Bomb and Power Bomb blocks. Entrance condition: {
"comeInWithStoredFallSpeed": {
"fallSpeedInTiles": 2
}
}
Requires: "canMoonfall" |
|
From: 4
Right Door
To: 7
Junction Below Power Bomb Blocks
Run under the gates with SpeedBooster but do not break the Bomb Blocks. Moonfall twice to clip through the Power Bomb blocks. Entrance condition: {
"comeInWithStoredFallSpeed": {
"fallSpeedInTiles": 2
}
}
Requires: "SpeedBooster" "canMoonfall" |
|
Moonfall to clip through the Bomb blocks Break spin with Shot or Angle Aim to avoid clipping all the way to the bottom of the room. Entrance condition: {
"comeInWithStoredFallSpeed": {
"fallSpeedInTiles": 1
}
}
Requires: "canPrepareForNextRoom"
"canMoonfall"
{
"or": [
"canWalljump",
"h_canCrouchJumpDownGrab"
]
}
{
"heatFrames": 170
}
|
|
Moonfall to clip through the Bomb blocks to the bottom of the room. Entrance condition: {
"comeInWithStoredFallSpeed": {
"fallSpeedInTiles": 1
}
}
Requires: "canPrepareForNextRoom"
"canMoonfall"
{
"heatFrames": 85
}
|
|
From: 1
Top Left Door
To: 5
Bottom Junction
Shoot at the Standing Pirate to prevent it from attacking. Then clip through the Power Bomb blocks with a moonfall. Entrance condition: {
"comeInWithStoredFallSpeed": {
"fallSpeedInTiles": 1
}
}
Requires: "canMoonfall"
{
"heatFrames": 180
}
|
|
From: 2
Top Right Door
To: 6
Bottom Right Corner Junction
Moonfall into the door transition and stay in spin to fall through the top 4 levels of solid tiles. A flatley style turnaround will land between the Bomb and Crumble blocks and can be continued with another Moonfall. Entrance condition: {
"comeInWithStoredFallSpeed": {
"fallSpeedInTiles": 1
}
}
Requires: "canPrepareForNextRoom"
"canMoonfall"
{
"enemyDamage": {
"enemy": "Multiviola",
"type": "contact",
"hits": 1
}
}
{
"or": [
{
"ammo": {
"type": "Missile",
"count": 3
}
},
{
"ammo": {
"type": "Super",
"count": 3
}
},
"Plasma",
"h_heatProof"
]
}
{
"heatFrames": 300
}
|
|
The camera will not follow Samus after clipping. Entrance condition: {
"comeInWithStoredFallSpeed": {
"fallSpeedInTiles": 1
}
}
Requires: "SpeedBooster" "canMoonfall" Clears obstacles: B |
|
Moonfall twice, on the right or left side of the shot blocks. This will put Samus inside of shotblocks, which can be cleared by shooting. If on the left side, perform two more moonfalls. The camera will be misaligned after the door transition. Entrance condition: {
"comeInWithStoredFallSpeed": {
"fallSpeedInTiles": 2
}
}
Requires: "canMoonfall" "canOffScreenMovement" |
|
From: 1
Left Doorway
To: 7
Below Maridia Tube (locked)
Entrance condition: {
"comeInWithStoredFallSpeed": {
"fallSpeedInTiles": 1
}
}
Requires: "canMoonfall" |
|
From: 3
Top Right Doorway
To: 7
Below Maridia Tube (locked)
Entrance condition: {
"comeInWithStoredFallSpeed": {
"fallSpeedInTiles": 1
}
}
Requires: "canMoonfall" |
|
Precisely Moonfall along the wall to land on top of the door shell without losing the stored fall speed. Then moonfall again to clip through the door. Entrance condition: {
"comeInWithStoredFallSpeed": {
"fallSpeedInTiles": 2
}
}
Requires: "Gravity" "canMoonfall" Bypasses door shell: true |
|
Moonfall twice into the wall adjacent the Power Bomb blocks and then wiggle out to the right. Then moonfall again to clip through the Power Bomb Blocks Without Gravity, break spin to avoid clipping down too far. Entrance condition: {
"comeInWithStoredFallSpeed": {
"fallSpeedInTiles": 2
}
}
Requires: "canMoonfall" |
|
From: 1
Top Right Door
To: 2
Bottom Right Door (locked)
Entrance condition: {
"comeInShinecharged": {
"framesRequired": 140
}
}
Requires: "canShinechargeMovementTricky"
{
"or": [
"canMoonfall",
"Morph"
]
}
{
"or": [
"f_KilledMetroidRoom2",
{
"metroidFrames": 25
}
]
}
Exit condition: {
"leaveShinecharged": {
"framesRemaining": "auto"
}
}
|
|
From: 1
Top Right Door
To: 2
Bottom Right Door (locked)
Entrance condition: {
"comeInShinecharging": {
"length": 2,
"openEnd": 1
}
}
Requires: "canShinechargeMovementTricky"
{
"or": [
"canMoonfall",
"Morph"
]
}
{
"or": [
"f_KilledMetroidRoom2",
{
"metroidFrames": 25
}
]
}
Exit condition: {
"leaveShinecharged": {
"framesRemaining": 50
}
}
|
|
Entrance condition: {
"comeInWithStoredFallSpeed": {
"fallSpeedInTiles": 2
}
}
Requires: "canMoonfall" Bypasses door shell: true |
|
Entrance condition: {
"comeInWithStoredFallSpeed": {
"fallSpeedInTiles": 1
}
}
Requires: "canMoonfall" |
