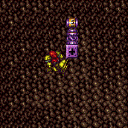
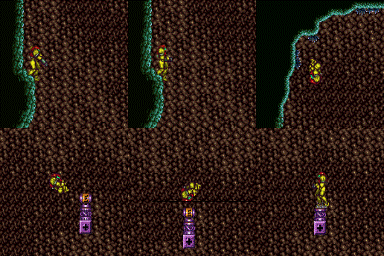
canStationarySpinJump (Very Hard)
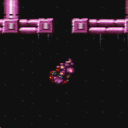
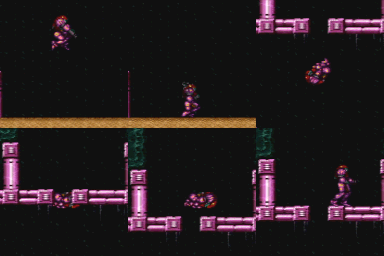
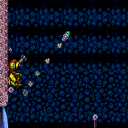
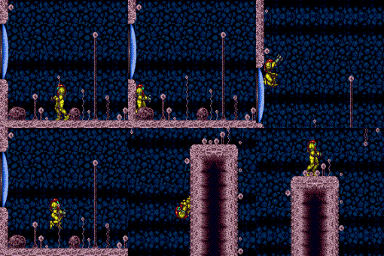
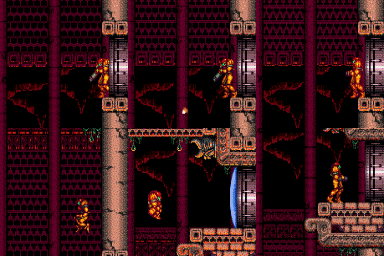
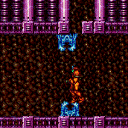
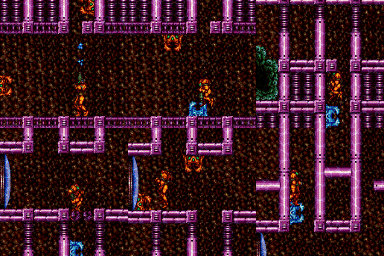
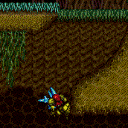
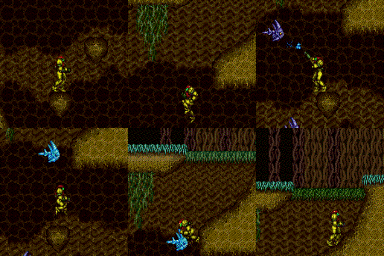
Spin jumping with no horizontal movement by quickly pressing and releasing forward and then immediately pressing jump (after stopping). Doing this while holding run produces a spin jump with very low horizontal speed.
Strats ()
|
From: 1
Bottom Left Door
To: 3
Hidden Ceiling Item
Notable: true Requires: "canCWJ" "canInsaneWalljump" "canStationarySpinJump" |
|
From: 1
Left Door
To: 1
Left Door
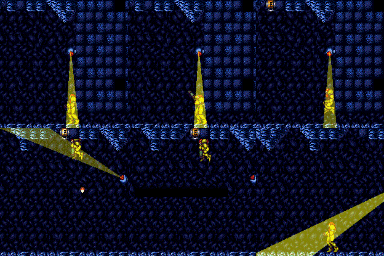
Notable: true Use a stationary spinjump, or spinjump against the wall and turn around without moving; and shoot with the same correct timing. This strat involves shooting a Super diagonally from the correct height while flush against the left wall. Its acceleration will cause it to clip into the blue gate off-screen. Requires: {
"obstaclesCleared": [
"A"
]
}
{
"or": [
"canTrickyJump",
"h_canBackIntoCorner"
]
}
"canStationarySpinJump"
"SpaceJump"
"canOffScreenSuperShot"
Clears obstacles: B |
|
From: 5
Junction Above Bottom Blocks with Top Blocks Broken
To: 3
Top Right Door
Notable: true Position yourself in the door way a few pixels from the edge. Dashing stationary spinjump into a delayed CWJ and hopefully catch the upper ledge with a walljump. Requires: "h_heatProof"
"HiJump"
"canCWJ"
"canStationarySpinJump"
"canInsaneJump"
"canInsaneWalljump"
{
"doorUnlockedAtNode": 2
}
|
|
Requires: "h_canNavigateHeatRooms"
"canPrepareForNextRoom"
{
"or": [
"SpaceJump",
"canWalljump",
"canTrickyJump",
"canStationarySpinJump"
]
}
{
"heatFrames": 80
}
Clears obstacles: A |
|
Notable: true Perform a running stationary spinjump from a precise spot, then a CWJ with slightly more speed off the wall one tile further out. This makes it possible to just barely walljump off the grapple block. Requires: "HiJump" "canInsaneJump" "canStationarySpinJump" "canConsecutiveWalljump" "canInsaneWalljump" "canCWJ" Clears obstacles: B |
|
From: 1
Left Door
To: 2
Right Door
Slide into the hole where the shot block was and sink to the bottom. Shoot the door using a Hero shot and time the shinespark to follow the shot. Either kill the ceiling crab so that Samus can jump forward, or stationary spinjump to avoid using the Shinespark early. Entrance condition: {
"comeInShinecharging": {
"length": 1,
"openEnd": 0
}
}
Requires: "canWaterShineCharge"
"canHeroShot"
"canShinechargeMovementTricky"
"canMidairShinespark"
"HiJump"
{
"or": [
{
"and": [
"Plasma",
"Wave"
]
},
"canStationarySpinJump"
]
}
{
"shinespark": {
"frames": 41
}
}
Exit condition: {
"leaveWithSpark": {}
}
|
|
Notable: true Similar to naked watering hole escape. Freeze a crab under the gap above, do a stationary spinjump facing right, then walljump until you're up. Another frozen crab can help complete the way up. Requires: "canSunkenTileWideWallClimb" "canUseFrozenEnemies" "canStationarySpinJump" |
|
Requires: "h_canXMode"
"h_XModeSpikeHit"
"h_XModeSpikeHit"
{
"or": [
"h_XModeSpikeHit",
"canStationarySpinJump"
]
}
"Gravity"
"HiJump"
"SpaceJump"
"canShinechargeMovementComplex"
"canMidairShinespark"
{
"canShineCharge": {
"usedTiles": 33,
"openEnd": 2
}
}
{
"shinespark": {
"frames": 10
}
}
Exit condition: {
"leaveWithSpark": {}
}
|
|
Requires: "h_canXMode"
"h_XModeSpikeHit"
"h_XModeSpikeHit"
{
"or": [
"h_XModeSpikeHit",
"canStationarySpinJump"
]
}
"Gravity"
"canShinechargeMovementComplex"
{
"canShineCharge": {
"usedTiles": 33,
"openEnd": 2
}
}
Exit condition: {
"leaveShinecharged": {
"framesRemaining": 100
}
}
|
|
From: 2
Right Door
To: 4
Top Right Ledge Junction
Requires: "Gravity"
"h_canXMode"
"h_XModeSpikeHit"
"h_XModeSpikeHit"
{
"or": [
"h_XModeSpikeHit",
"canStationarySpinJump"
]
}
{
"canShineCharge": {
"usedTiles": 33,
"openEnd": 2
}
}
{
"shinespark": {
"frames": 25,
"excessFrames": 5
}
}
|
|
From: 2
Bottom Right Door
To: 3
Middle Right Door
Notable: true Use the Skultera to get onto the top right platform. There are two distinct ways to get up using the top Skultera. 1. Freeze it at the bottom of its path to the left. Crouch jump and down grab to get onto it. The positioning is very precise. 2. Freeze it about a half-tile from the right wall and very quickly stationary spin jump and quickly walljump mash to get up before it thaws. This may be easier by jumping away from the wall, towards the fish, to gain height faster. Requires: "canSuitlessMaridia"
"canTrickyUseFrozenEnemies"
{
"or": [
{
"and": [
"canTrickyJump",
"h_canCrouchJumpDownGrab"
]
},
{
"and": [
"canStationarySpinJump",
"canSunkenTileWideWallClimb"
]
}
]
}
|
|
From: 4
Junction Between Items
To: 1
Right Door
A stationary spinjump can fit into the 1 tile wide hole where Samus can slowly infinite walljump to freedom. Requires: "canSuitlessMaridia" "canStationarySpinJump" "canSunkenTileWideWallClimb" |
|
From: 4
West Leg Sand
To: 5
Junction Above Grapple Block
Notable: true Gets above the grapple block by doing a well-positioned and well-timed Gravity jump following a good jump off the sand. It is also possible to do this off of a wall jump on the side immediately followed by a gravity jump. Break spin before touching the sand, and then spinjump to get a good jump off of the sand. Breaking spin after jumping from the sand will remove horizontal momentum, or a stationary spinjump can help. Requires: "Grapple"
"canGravityJump"
"canPlayInSand"
"canCarefulJump"
{
"or": [
"canStationarySpinJump",
"canTrickyJump"
]
}
|
