canSpringwall (Hard)
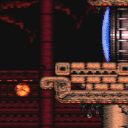
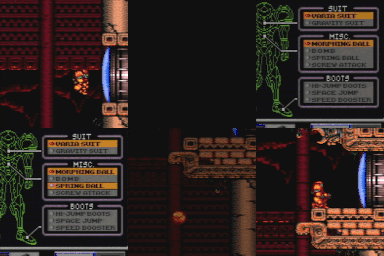
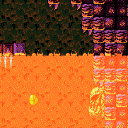
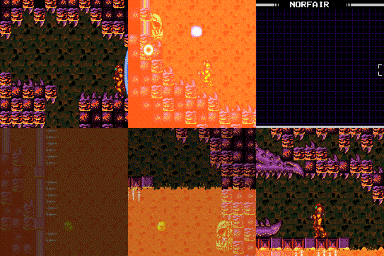
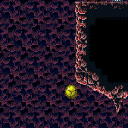
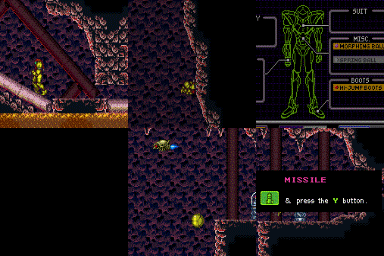
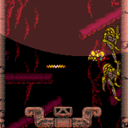
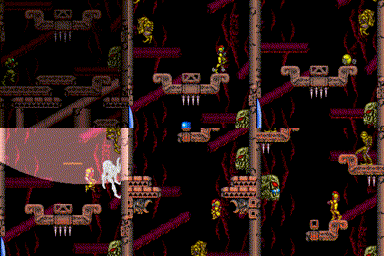
A mid-air Spring Ball jump that starts with a wall jump to gain more height. It often benefits from the momentum change when equipping Spring Ball while morphed and moving horizontally after a WallJump.
Dependencies: canMidAirMorph, canDisableEquipment, canWallJumpInstantMorph, canSpringBallJumpMidAir
Strats ()
|
From: 2
Right Door
To: 3
Safe Block in the Middle of the Room
Requires: {
"or": [
"h_canTrickySpringwall",
{
"and": [
"h_canMaxHeightSpringBallJump",
"canNeutralDamageBoost"
]
}
]
}
{
"spikeHits": 1
}
|
|
From: 4
Small Ledge Below Left Door
To: 1
Left Door
Requires: "canSpringwall"
{
"spikeHits": 1
}
|
|
From: 7
Junction (Bottom Rippers)
To: 6
Junction (Above Bottom Rippers)
Requires: "canSpringBallJumpMidAir"
{
"or": [
"canWalljump",
{
"and": [
"HiJump",
"canTrickyJump"
]
}
]
}
{
"or": [
"canTrickySpringBallJump",
"canSpringwall"
]
}
|
|
Kill the Rippers then wall jump up. Requires: "canConsecutiveWalljump"
{
"or": [
"canPreciseWalljump",
"canSpringwall",
"HiJump"
]
}
{
"obstaclesCleared": [
"B"
]
}
|
|
Requires: "canSpringwall" |
|
From: 4
Lava, Left Wall
To: 3
Above Lava Junction
Notable: true Requires: "canSuitlessLavaDive"
"canUseEnemies"
"canDoubleSpringBallJumpMidAir"
"canSpringwall"
"canPreciseWalljump"
{
"heatFrames": 270
}
{
"lavaFrames": 240
}
|
|
Lava physics will reduce Samus' horizontal momentum. Requires: {
"or": [
"h_lavaProof",
"canSuitlessLavaDive"
]
}
"canSpringwall"
"canTrickySpringBallJump"
"HiJump"
"canUseEnemies"
{
"heatFrames": 195
}
{
"lavaFrames": 180
}
|
|
From: 5
Small Platforms Junction
To: 1
Left Door
Requires: "h_canTrickySpringwall" |
|
Notable: true A particularly precise springwall. Aim the walljump at the bottom of the second sloped wall fixture, where it looks like you cant jump off of. Optimize pause timing, use an instant morph, and get a max height springball jump. A delayed wall jump helps. Requires: "HiJump" "h_canTrickySpringwall" "canPreciseWalljump" "can3HighWallMidAirMorph" |
|
From: 5
Golden Torizo (locked)
To: 4
Hidden Right Item
Uses a Springwall to put a bomb on the left corner bomb block, then a second one to get in there. Then clears the rest of the bomb blocks normally. It winds up costing less heat frames than IBJ, if you fall. Requires: "h_canNavigateHeatRooms"
"h_canUseMorphBombs"
"canSpringwall"
"canTrickySpringBallJump"
{
"heatFrames": 900
}
|
|
From: 6
Golden Torizo Arena Junction (Fight Not Started)
To: 4
Hidden Right Item
Springball jump into GT to bounce to the upper level. Requires: "h_canNavigateHeatRooms"
{
"not": "f_DefeatedGoldenTorizo"
}
{
"or": [
"canRiskPermanentLossOfAccess",
"HiJump",
{
"and": [
"canTrickyJump",
"canSpringwall"
]
}
]
}
"canSpringBallJumpMidAir"
"canNeutralDamageBoost"
{
"enemyDamage": {
"enemy": "Golden Torizo",
"type": "contact",
"hits": 1
}
}
{
"ammo": {
"type": "PowerBomb",
"count": 1
}
}
{
"heatFrames": 300
}
|
|
From: 2
Middle Right Door
To: 5
Junction Above Bottom Blocks with Top Blocks Broken
Use a Springwall to get up to the bomb blocks, to break them with a bomb. Requires: "h_canNavigateHeatRooms"
"h_canUseMorphBombs"
"canSpringwall"
"canTrickySpringBallJump"
{
"heatFrames": 300
}
Clears obstacles: A |
|
From: 5
Junction Above Bottom Blocks with Top Blocks Broken
To: 3
Top Right Door
Requires: "h_canNavigateHeatRooms"
"canSpringwall"
{
"heatFrames": 400
}
|
|
From: 4
Junction Below Bomb Blocks
To: 2
Top Right Door
This is possible by jumping on the crumble blocks into a mid-air spring ball jump, or by avoiding them. The crumbles can be avoided by starting with either an air ball, a 3 tile high mid-air morph, or a low spring wall. These are generally safer, as bouncing on the crumble blocks with Spring Ball is trivial. Requires: {
"obstaclesCleared": [
"A"
]
}
"canTrickySpringBallJump"
{
"heatFrames": 250
}
{
"or": [
{
"and": [
"can4HighMidAirMorph",
"canSpringFling"
]
},
"canLateralMidAirMorph",
"canCrumbleJump",
{
"and": [
"h_canTrickySpringwall",
"canPreciseWalljump"
]
}
]
}
|
|
From: 2
Bottom Left Door
To: 4
Junction Above Bomb Blocks
Notable: true Avoid the bottom pirates and jump high enough to break the bomb blocks with a power bomb. During the explosion, climb the right wall passing through any pirates and use a movement item to reach the top. Requires: "h_canNavigateHeatRooms"
"canPreciseWalljump"
"canHitbox"
"h_canUsePowerBombs"
"canTrickyJump"
{
"or": [
"canSpringwall",
"HiJump",
"SpaceJump"
]
}
{
"heatFrames": 530
}
{
"or": [
"h_heatResistant",
"canPauseAbuse",
{
"resourceCapacity": [
{
"type": "RegularEnergy",
"count": 149
}
]
}
]
}
Clears obstacles: A |
|
From: 6
Bottom Platform Junction With Pirates Killed
To: 4
Junction Above Bomb Blocks
Requires: "h_canNavigateHeatRooms"
"canSpringwall"
"canConsecutiveWalljump"
{
"heatFrames": 300
}
{
"or": [
{
"and": [
"h_canUsePowerBombs",
{
"heatFrames": 180
}
]
},
{
"and": [
"h_canUseMorphBombs",
{
"heatFrames": 800
}
]
},
{
"obstaclesCleared": [
"A"
]
}
]
}
Clears obstacles: A |
|
Requires: "canSpringwall" "canResetFallSpeed" |
|
Requires: "canSpringwall" "canSpringFling" Clears obstacles: B |
|
Requires: "Gravity"
"canSpringwall"
"canTrickySpringBallJump"
{
"resetRoom": {
"nodes": [
1
]
}
}
|
|
From: 3
Junction Left of Morph Tunnel
To: 1
Left Door
Requires: "Gravity"
{
"or": [
"canSpringwall",
{
"and": [
"HiJump",
"canSpringBallJumpMidAir"
]
}
]
}
|
|
Requires: "canSpringwall" |
|
From: 3
Central Junction with all Standing Pirates Killed
To: 1
Top Left Door (locked)
Requires: "canSpringwall" |
