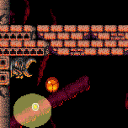
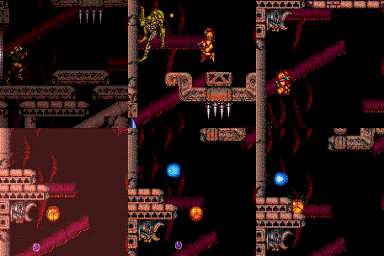
canFastWalljumpClimb (Expert)
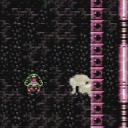
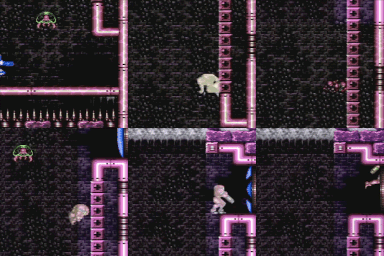
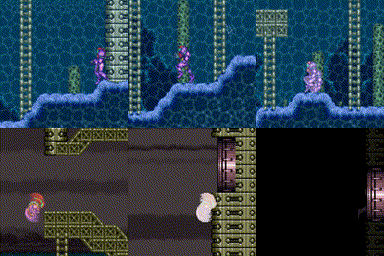
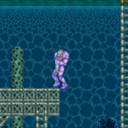
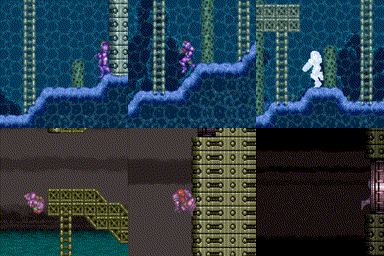
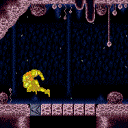
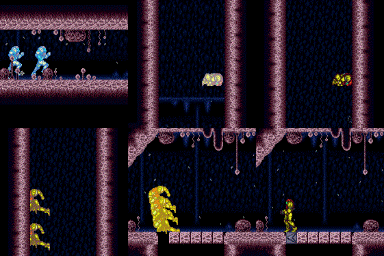
Climbing a wall with consecutive wall jumps very quickly, e.g. for setting up a full halfie.
Dependencies: canConsecutiveWalljump
Strats ()
|
From: 2
Bottom Left Door
To: 3
Item
Quickly Walljump to conserve health on the shinespark. Requires: "canUseFrozenEnemies"
"canShinechargeMovementComplex"
"canFastWalljumpClimb"
{
"canShineCharge": {
"usedTiles": 33,
"openEnd": 2
}
}
{
"shinespark": {
"frames": 98,
"excessFrames": 6
}
}
|
|
From: 13
Bottom Junction
To: 4
Lower Section - Top Right Door
Notable: true Requires: "canShinechargeMovementComplex"
"canFastWalljumpClimb"
"HiJump"
"Gravity"
"SpaceJump"
{
"canShineCharge": {
"usedTiles": 33,
"openEnd": 2
}
}
Exit condition: {
"leaveShinecharged": {
"framesRemaining": 35
}
}
|
|
From: 13
Bottom Junction
To: 4
Lower Section - Top Right Door
Notable: true Requires: "canShinechargeMovementComplex"
"canFastWalljumpClimb"
"HiJump"
"Gravity"
{
"canShineCharge": {
"usedTiles": 33,
"openEnd": 2
}
}
Exit condition: {
"leaveShinecharged": {
"framesRemaining": 18
}
}
|
|
From: 4
Right Item
To: 2
Top Left Door
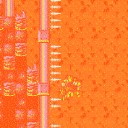
Breaking the Power Bomb blocks exactly wide enough makes it easier to quickly enter the one-tile gap. Aligning the Power Bomb with the left side of the ceiling fixture that sticks down will position the explosion correctly for this. Requires: {
"or": [
"h_canUsePowerBombs",
{
"obstaclesCleared": [
"C"
]
}
]
}
"canShinechargeMovementComplex"
"canFastWalljumpClimb"
{
"canShineCharge": {
"usedTiles": 33,
"openEnd": 2
}
}
{
"shinespark": {
"frames": 17
}
}
Clears obstacles: A, B, C |
|
From: 2
Bottom Left Door
To: 3
Right Door
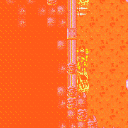
Notable: true Quickly wall jump up the right wall and shinespark up to barely get above the speed blocks without any tanks. Requires: "canFastWalljumpClimb"
"canShinechargeMovementComplex"
"canMidairShinespark"
{
"canShineCharge": {
"usedTiles": 33,
"openEnd": 2
}
}
{
"shinespark": {
"frames": 73,
"excessFrames": 3
}
}
|
|
Requires: "HiJump"
"canFastWalljumpClimb"
"canShinechargeMovementComplex"
"canMidairShinespark"
{
"canShineCharge": {
"usedTiles": 33,
"openEnd": 2
}
}
{
"shinespark": {
"frames": 67,
"excessFrames": 3
}
}
|
|
From: 4
Lava, Left Wall
To: 3
Above Lava Junction
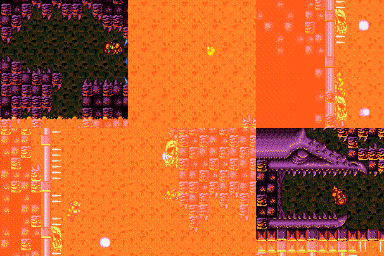
Notable: true Enter the Bottom-Left Namihe by Kagoing inside of it. Wait for a second hit to gain I-Frames and then very quickly walljump up the spikes and across to the right side wall. Requires: "canSuitlessLavaDive"
"canInsaneWalljump"
"canInsaneJump"
"canIframeSpikeJump"
"canStaggeredWalljump"
"canFastWalljumpClimb"
"canUseEnemies"
"canKago"
{
"heatFrames": 510
}
{
"lavaFrames": 480
}
{
"enemyDamage": {
"enemy": "Namihe",
"type": "kago",
"hits": 2
}
}
|
|
Notable: true Use the bottommost right side namihe to generate a flame and walk with it to the bottommost left namihe head Use a turnaround animation as Samus is hit by the flame to cancel out knockback frames. While invulnerability frames are active, walljump up the spikes either 2 or 3 times and jump accross to catch the middle wall and climb from there. Requires: "canSuitlessLavaDive"
"canIframeSpikeJump"
"canStaggeredWalljump"
"canFastWalljumpClimb"
"canUseEnemies"
"canCameraManip"
{
"heatFrames": 600
}
{
"lavaFrames": 500
}
{
"enemyDamage": {
"enemy": "Namihe",
"type": "fireball",
"hits": 1
}
}
|
|
From: 3
Bottom Right Door
To: 4
Top Right Door
Entrance condition: {
"comeInShinecharging": {
"length": 7,
"openEnd": 1,
"gentleDownTiles": 3
}
}
Requires: "canWalljump" "canFastWalljumpClimb" "canShinechargeMovementComplex" Exit condition: {
"leaveShinecharged": {
"framesRemaining": 15
}
}
|
|
From: 2
Bottom Left Door
To: 4
Junction Above Bomb Blocks
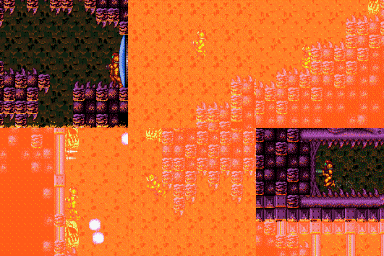
Notable: true Ignore the Yellow Pirates by walljumping up the left side to start a diagonal bomb jump from the wall, including a power bomb to clear the bomb blocks. Two quick walljumps upon entering the room can position Samus to get the left pirate to jump to the right and jump over the right pirate's lazer attack. Jump up the left wall and begin bomb jumping starting with a power bomb. Requires: "h_canNavigateHeatRooms"
"canFastWalljumpClimb"
"canWallJumpBombBoost"
"h_canDiagonalBombJump"
"h_canUsePowerBombs"
{
"heatFrames": 930
}
{
"or": [
"h_heatResistant",
{
"and": [
"canInsaneJump",
"canPauseAbuse"
]
},
{
"resourceCapacity": [
{
"type": "RegularEnergy",
"count": 149
}
]
}
]
}
Clears obstacles: A |
|
From: 2
Bottom Left Door
To: 1
Middle Left Door
Requires: "Gravity"
"HiJump"
"canFastWalljumpClimb"
{
"canShineCharge": {
"usedTiles": 33,
"openEnd": 2
}
}
{
"or": [
{
"obstaclesCleared": [
"A"
]
},
"h_canUsePowerBombs"
]
}
Exit condition: {
"leaveShinecharged": {
"framesRemaining": 70
}
}
|
