canDelayedWalljump (Hard)
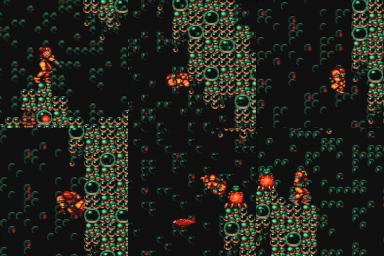
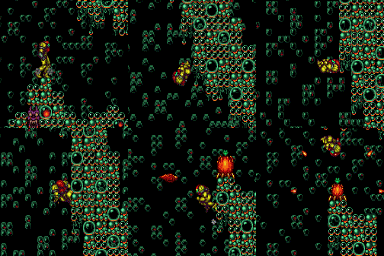
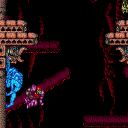
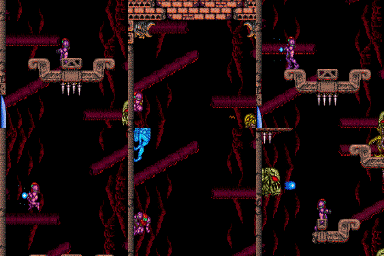
A precise wall jump that needs to done as late as possible by moving away from the wall in order for Samus to start the jump as far from the wall as possible.
Dependencies: canPreciseWalljump
Strats ()
|
Requires: "canDelayedWalljump"
{
"or": [
"HiJump",
"canConsecutiveWalljump"
]
}
|
|
From: 9
Main Junction
To: 7
Top Right Door
Notable: true Requires: "canDelayedWalljump" "canConsecutiveWalljump" |
|
Wall jump up the left wall, perform a delayed wall jump on the Fune to reach the door. Requires: "canDelayedWalljump"
"canConsecutiveWalljump"
"canTrickyJump"
"canUseEnemies"
{
"or": [
{
"heatFrames": 190
},
{
"and": [
"canPrepareForNextRoom",
{
"heatFrames": 120
}
]
}
]
}
|
|
From: 2
Bottom Left Door
To: 4
Junction Above Bomb Blocks
Notable: true Freeze the pirates to use as platforms to get up through the bomb blocks. Note that the pirates' hitboxes are larger than they seem. Requires: "canTrickyUseFrozenEnemies"
"Charge"
"h_heatProof"
"canDelayedWalljump"
{
"or": [
"h_canDestroyBombWalls",
{
"obstaclesCleared": [
"A"
]
}
]
}
Clears obstacles: A |
|
From: 6
Bottom Platform Junction With Pirates Killed
To: 4
Junction Above Bomb Blocks
Requires: "h_canNavigateHeatRooms"
"HiJump"
"canPreciseWalljump"
"canConsecutiveWalljump"
{
"heatFrames": 300
}
{
"or": [
{
"and": [
"h_canUsePowerBombs",
{
"heatFrames": 200
}
]
},
{
"and": [
"canDelayedWalljump",
"canWallJumpInstantMorph",
"h_canUseMorphBombs",
{
"heatFrames": 520
}
]
},
{
"obstaclesCleared": [
"A"
]
}
]
}
Clears obstacles: A |
|
From: 10
Upper Right Ledge Junction
To: 4
Top Right Door
Requires: "Gravity"
{
"or": [
"canDelayedWalljump",
{
"and": [
"HiJump",
"canPreciseWalljump"
]
},
{
"and": [
"HiJump",
"canWalljump",
"SpeedBooster"
]
}
]
}
|
|
From: 3
Junction Left of Morph Tunnel
To: 1
Left Door
Requires: "canSuitlessMaridia"
"HiJump"
"canPreciseWalljump"
{
"or": [
"canConsecutiveWalljump",
"canDelayedWalljump"
]
}
|
|
From: 2
Bottom Right Door
To: 1
Top Left Door
Requires: "Gravity" "canDelayedWalljump" |
|
From: 4
Junction (Get Past Metroids, Right to Left)
To: 1
Left Door (locked)
Requires: {
"or": [
{
"and": [
"canDelayedWalljump",
{
"acidFrames": 20
}
]
},
{
"and": [
"HiJump",
"canWalljump",
{
"acidFrames": 20
}
]
},
{
"and": [
"Gravity",
{
"acidFrames": 10
}
]
}
]
}
{
"or": [
{
"obstaclesCleared": [
"A"
]
},
"Ice",
"ScrewAttack",
"canMetroidAvoid",
{
"and": [
"canPseudoScrew",
"canTrickyJump"
]
},
{
"metroidFrames": 420
}
]
}
{
"or": [
"canInsaneJump",
{
"and": [
"canTrickyJump",
"canLateralMidAirMorph"
]
},
{
"and": [
"canTrickyJump",
"canPreciseWalljump",
{
"acidFrames": 16
}
]
},
{
"and": [
"Gravity",
{
"acidFrames": 16
}
]
},
{
"acidFrames": 27
}
]
}
|
