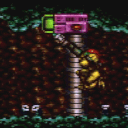
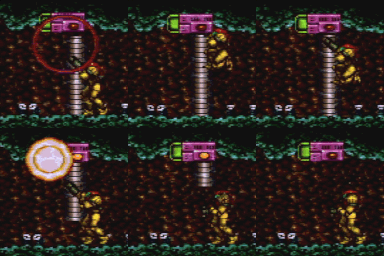
canGateGlitch (Hard)
Strats ()
|
Requires: "h_canBlueGateGlitch" |
|
From: 3
Right Door
To: 3
Right Door
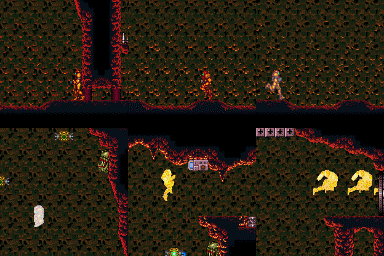
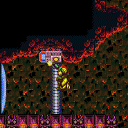
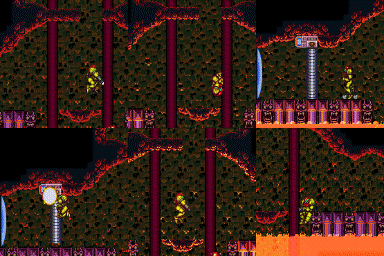
Notable: true Charge a spark along the bottom of Double Chamber and use it to spark through the right side door. Requires opening the door and shutter first. Requires: "HiJump"
{
"or": [
"SpaceJump",
"Grapple"
]
}
{
"or": [
{
"obstaclesCleared": [
"A"
]
},
"Wave",
{
"and": [
"h_canHeatedBlueGateGlitch",
{
"heatFrames": 60
}
]
}
]
}
{
"or": [
{
"and": [
"canTrickyDashJump",
"canWalljump"
]
},
"SpaceJump"
]
}
{
"canShineCharge": {
"usedTiles": 28,
"gentleUpTiles": 3,
"gentleDownTiles": 3,
"openEnd": 0
}
}
{
"heatFrames": 780
}
{
"shinespark": {
"frames": 57
}
}
Exit condition: {
"leaveWithSpark": {}
}
Clears obstacles: A |
|
Requires: {
"heatFrames": 250
}
"h_canHeatedBlueGateGlitch"
Clears obstacles: A |
|
Requires: "Morph"
{
"heatFrames": 260
}
"h_canHeatedBlueGateGlitch"
Clears obstacles: A |
|
From: 5
Middle Junction (Ledge Right of Morph Tunnel)
To: 2
Middle Left Door
Requires: "Morph"
{
"heatFrames": 150
}
"h_canHeatedBlueGateGlitch"
Clears obstacles: A |
|
From: 5
Middle Junction (Ledge Right of Morph Tunnel)
To: 2
Middle Left Door
Requires: "Morph"
{
"heatFrames": 150
}
"h_canHeatedBlueGateGlitch"
Exit condition: {
"leaveWithRunway": {
"length": 11,
"openEnd": 0,
"gentleDownTiles": 4
}
}
Clears obstacles: A |
|
From: 5
Bottom Floating Platform Junction
To: 5
Bottom Floating Platform Junction
Requires: {
"heatFrames": 135
}
"h_canHeatedBlueGateGlitch"
Clears obstacles: A |
|
From: 5
Bottom Floating Platform Junction
To: 5
Bottom Floating Platform Junction
Notable: true Farm before, during, and after the gate glitch in order to open the gate without wasting ammo or Energy. Requires: {
"heatFrames": 300
}
"canGateGlitch"
{
"or": [
{
"ammo": {
"type": "Missile",
"count": 1
}
},
{
"ammo": {
"type": "Super",
"count": 1
}
}
]
}
Clears obstacles: A |
|
Requires: {
"or": [
"h_canGreenGateGlitch",
{
"obstaclesCleared": [
"A"
]
}
]
}
Clears obstacles: A |
|
Requires: {
"or": [
"h_canHeatedGreenGateGlitch",
{
"obstaclesCleared": [
"A"
]
}
]
}
{
"enemyDamage": {
"enemy": "Ripper 2 (red)",
"type": "contact",
"hits": 2
}
}
Exit condition: {
"leaveWithRunway": {
"length": 29,
"openEnd": 1
}
}
|
|
Requires: "h_canNavigateHeatRooms"
{
"or": [
"h_canHeatedGreenGateGlitch",
{
"obstaclesCleared": [
"A"
]
}
]
}
{
"heatFrames": 100
}
Clears obstacles: A |
|
Requires: {
"or": [
"h_canGreenGateGlitch",
{
"obstaclesCleared": [
"A"
]
}
]
}
Clears obstacles: A |
