canTwoTileSqueeze (Hard)
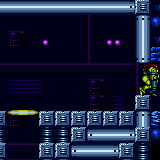
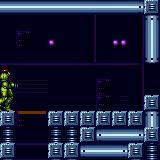
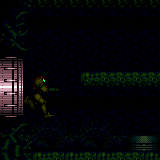
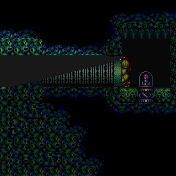
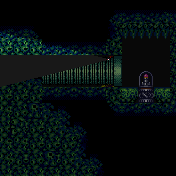
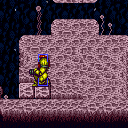
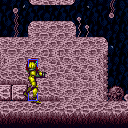
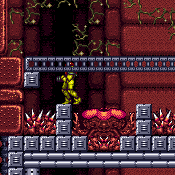
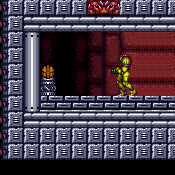
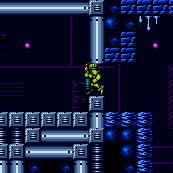
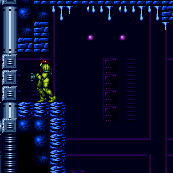
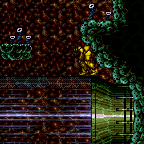
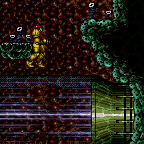
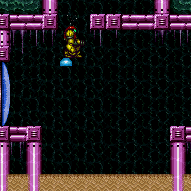
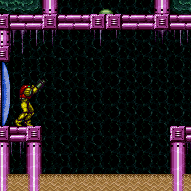
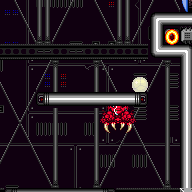
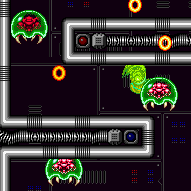
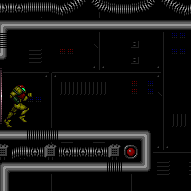
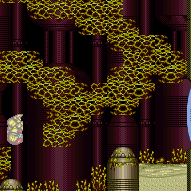
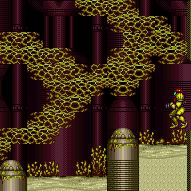
Taking advantage of the smaller hitbox of spinjump and down-aim to squeeze through two-tile gaps. Aiming down while jumping into a two-tile gap will allow Samus to stand up.
Strats ()
|
Shinespark from the end of the entry runway, just past the down slope. Samus will crash into the last set of blocks preventing access to the opposite door. Entrance condition: {
"comeInShinecharged": {}
}Requires: {
"shineChargeFrames": 37
}
"canShinechargeMovement"
"canHorizontalShinespark"
{
"shinespark": {
"frames": 70,
"excessFrames": 0
}
}
{
"or": [
"Morph",
"canTunnelCrawl",
"canTurnaroundAimCancel",
{
"and": [
"canTwoTileSqueeze",
"canXRayTurnaround"
]
}
]
} |
|
Requires: "h_frozenEnemyRunway"
{
"or": [
"Morph",
"canTwoTileSqueeze",
{
"enemyDamage": {
"enemy": "Zeb",
"type": "contact",
"hits": 1
}
}
]
}Exit condition: {
"leaveWithRunway": {
"length": 3,
"openEnd": 0
}
} |
From: 5
Junction The Left End of Morph Tube
To: 4
Item (Through the Pipe)
It's a long Wiggle, but you can see the item before going in too far. Spin jumping directly into the tube will disable X-Ray, so enter aiming down to standup first. Requires: {
"notable": "X-Ray Wiggle"
}
"canTwoTileSqueeze"
"canXRayTurnaround" |
From: 9
Left Side - Bottom Door
To: 11
Middle Item
Go into the morph tunnel below the Charge Beam location and Crystal Flash to force a standup and jump through. Samus is now unable to use X-Ray. Without Morph, be careful not to overload PLMs using the camera scroll blocks on the path upward. Then partially floor clip into the left side of the bomb block, and jump to clip through and escape. To exit G-Mode, damage down until the reserves trigger, which can be done most quickly using the Sidehoppers. Entrance condition: {
"comeInWithGMode": {
"mode": "any",
"morphed": true
}
}Requires: "canComplexGMode"
{
"or": [
"h_artificialMorphIBJ",
"Morph",
{
"and": [
"h_artificialMorphSpringBall",
{
"or": [
"HiJump",
{
"and": [
"h_artificialMorphSpringBallBombJump",
"h_additionalBomb",
"h_additionalBomb",
"h_additionalBomb"
]
}
]
}
]
}
]
}
"h_artificialMorphCrystalFlash"
{
"or": [
"Morph",
{
"and": [
"canInsaneJump",
"canTwoTileSqueeze",
"canPartialFloorClip",
"canCeilingClip"
]
}
]
}
"canBePatient"
{
"autoReserveTrigger": {}
}Dev note: This assumes Samus has many Energy Tanks, which will take a while to empty. |
From: 9
Left Side - Bottom Door
To: 13
Central Junction
Farm the Zeb pipe just above the 'main' left door. Shinecharge on the ledge below, then hop back up and get interrupted by a Zeb. Entrance condition: {
"comeInWithRMode": {}
}Requires: "Morph"
"h_usePowerBomb"
{
"or": [
"canTwoTileSqueeze",
{
"and": [
"Morph",
"canXRayStandUp"
]
}
]
}
"canPartialFloorClip"
"canCeilingClip"
{
"refill": [
"Energy"
]
}
{
"canShineCharge": {
"usedTiles": 25,
"openEnd": 1
}
}
{
"autoReserveTrigger": {
"maxReserveEnergy": 95
}
}
"canRModeSparkInterrupt"Clears obstacles: E |
From: 9
Left Side - Bottom Door
To: 13
Central Junction
Go into the Morph Tunnel below the Charge Beam location and Crystal Flash to force a standup and jump through. Samus is now unable to use X-Ray. Without Morph, be careful not to overload PLMs using the camera scroll blocks on the path upward. Partially floor clip into the left side of the bomb block and jump to clip through and escape. Go to the 'main' left door's runway and shinecharge. Do not kill any Zebs during the ascent as they will not respawn until G-Mode ends. Shinecharge and jump to the Zeb pipe above the runway to interrupt. G-Mode will end and the Zeb pipe can be farmed to refill if needed. Entrance condition: {
"comeInWithGMode": {
"mode": "direct",
"morphed": true
}
}Requires: "canComplexGMode"
{
"or": [
"h_artificialMorphIBJ",
"Morph",
{
"and": [
"h_artificialMorphSpringBall",
{
"or": [
"HiJump",
{
"and": [
"h_artificialMorphSpringBallBombJump",
"h_additionalBomb",
"h_additionalBomb",
"h_additionalBomb"
]
}
]
}
]
}
]
}
"h_artificialMorphCrystalFlash"
{
"or": [
"Morph",
{
"and": [
"canInsaneJump",
"canTwoTileSqueeze",
"canPartialFloorClip",
"canCeilingClip"
]
}
]
}
{
"canShineCharge": {
"usedTiles": 25,
"openEnd": 1
}
}
{
"autoReserveTrigger": {
"maxReserveEnergy": 95
}
}
"canRModeSparkInterrupt"
{
"partialRefill": {
"type": "Energy",
"limit": 50
}
}Clears obstacles: E |
|
Partially floor clip into the left side of the bomb block above the charge beam location. Then jump to clip through the above tile. Requires: {
"obstaclesNotCleared": [
"D"
]
}
{
"or": [
"canTwoTileSqueeze",
{
"and": [
"Morph",
"canXRayStandUp"
]
}
]
}
"canPartialFloorClip"
"canCeilingClip" |
|
Use the Solid Blocks next to the Samus Eater to clip up through the Power Bomb Blocks. Carefully jump around the thorns, use HiJump to jump over them, or walk through them using i-frames. Requires: "canCeilingClip"
"canPartialFloorClip"
{
"or": [
{
"and": [
"canCarefulJump",
"HiJump",
"canTwoTileSqueeze",
{
"or": [
"canTrickyJump",
{
"thornHits": 1
}
]
}
]
},
{
"and": [
"canNeutralDamageBoost",
"canUseIFrames",
{
"thornHits": 1
}
]
},
{
"and": [
"canPreciseWallJump",
"canTwoTileSqueeze"
]
}
]
} |
|
Requires: {
"ammo": {
"type": "Super",
"count": 2
}
}
"canDash"
"canTwoTileSqueeze" |
|
Requires: {
"ammo": {
"type": "Super",
"count": 2
}
}
"canDash"
"canTwoTileSqueeze" |
From: 6
Platform Below Top Door
To: 5
Inside Maridia Tube Junction
Wedge Samus under the right side slope with either a moonfall or a low running jump. Then face left and turn around spin jump to the right; if necessary, do a second turnaround spin jump. Once deep enough, Samus will automatically clip down. It is possible to get under the slope with just a turnaround spin jump (no moonfall or running jump), but it is easy to softlock. Requires: {
"notable": "Tube Clip"
}
{
"or": [
"canMoonfall",
{
"and": [
"canDash",
"canTwoTileSqueeze",
"canTrickyJump"
]
},
"canInsaneJump"
]
}
"canTurnaroundSpinJump" |
|
Involves breaking the top left Puyo free and then freezing it while it falls. Walk to the end of the door platform and wait for the above puyo to land on the shot block. It will float there until its next jump, where it will slowly descend. Requires: "canSuitlessMaridia"
"canTrickyUseFrozenEnemies"
{
"or": [
"h_underwaterCrouchJumpDownGrab",
"canTwoTileSqueeze",
"Morph"
]
} |
|
If Metroids are alive, minimizing damage from them requires tricky movement to manipulate them: the moonfalling option must be done starting from almost a tile to the left of the opening; likewise, the morphing option should soft-morph about a tile to the left of the opening. Entrance condition: {
"comeInShinecharged": {}
}Requires: {
"shineChargeFrames": 140
}
"canShinechargeMovementTricky"
{
"or": [
"canMoonfall",
"Morph",
"canTwoTileSqueeze"
]
}
{
"or": [
{
"or": [
"f_KilledMetroidRoom2",
{
"obstaclesCleared": [
"f_KilledMetroidRoom2"
]
}
]
},
{
"metroidFrames": 100
},
{
"and": [
"canInsaneJump",
"canTrickyDodgeEnemies",
{
"metroidFrames": 10
}
]
}
]
}Exit condition: {
"leaveShinecharged": {}
}Unlocks doors: {"types":["powerbomb"],"requires":[]}
{"types":["missiles","super"],"requires":["never"]}Dev note: FIXME: Unmorphing and downbacking through the gap can leave with more frames remaining but is more difficult. |
|
Note that angle-down shots with a Metroid on Samus are unreliable, so it is recommended to jump and shoot down to open the door if one grabs her. Requires: "canDodgeWhileShooting"
{
"or": [
"ScrewAttack",
{
"haveBlueSuit": {}
},
{
"and": [
"Ice",
"Morph"
]
},
{
"and": [
"Ice",
"canTwoTileSqueeze"
]
}
]
}
{
"or": [
"canTrickyJump",
{
"enemyDamage": {
"enemy": "Rinka",
"type": "contact",
"hits": 1
}
}
]
} |
From: 3
Bottom Right Door
To: 2
Left Door
Entrance condition: {
"comeInShinecharging": {
"length": 0,
"openEnd": 1
}
}Requires: {
"shineChargeFrames": 130
}
"canTwoTileSqueeze"
"canShinechargeMovementTricky"Exit condition: {
"leaveShinecharged": {}
}Unlocks doors: {"types":["super"],"requires":[]}
{"types":["missiles","powerbomb"],"requires":["never"]} |
|
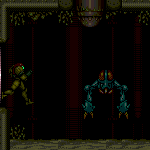
Use at least 4 tiles of runway to gain speed, running through the transition. Hold down during and after the transition in order to aim down and squeeze under the Hopper. Then immediately run to the right to make it to the door without taking damage. Entrance condition: {
"comeInRunning": {
"speedBooster": "any",
"minTiles": 4
}
}Requires: {
"notable": "Squeeze Under Hoppers"
}
"canPrepareForNextRoom"
"canTwoTileSqueeze"
"h_complexToCarryFlashSuit" |
