canTrickyGrappleJump (Insane)
The ability to Grapple Jump while also performing difficult movements. 1) Aiming a Grapple Fling with a precise angle. 2) Morphing and unmorphing very quickly without the slowdown of water physics. 3) Positioning the Grapple Jump with a Mid-Air Wiggle at high speeds. 4) Performing actions between individual Grapple Jumps, such as arm pumping.
Dependencies: canGrappleJump, canMidAirMorph, canUseGrapple
Strats ()
|
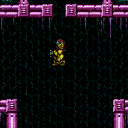
Green Hills Grapple Teleport into Grapple Jump (from Red Brinstar Firefleas) (Insane)
Green Hill Zone
From: 3
Bottom Right Door
To: 2
Top Right Door
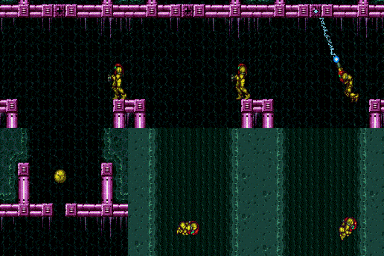
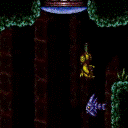
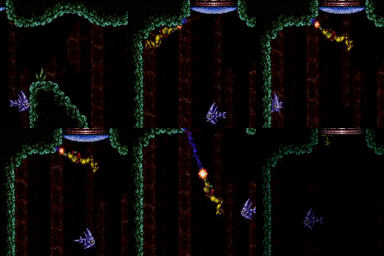
Notable: true After teleporting, swing back and forth to fix the camera. Swing to the right by soft-bouncing against the door followed by fully extending the Grapple Beam. Release grapple low, but not too low, to get enough momentum while also leaving enough space to gain more height with a grapple jump to reach the ledge. Holding jump just before releasing Grapple may help prevent losing momentum. Entrance condition: {
"comeInWithGrappleTeleport": {
"blockPositions": [
[
5,
3
]
]
}
}
Requires: "canTrickyGrappleJump" "canInsaneJump" |
|
From: 2
Bottom Right Door
To: 4
Top Left Door
Notable: true Entrance condition: {
"comeInWithGrappleTeleport": {
"blockPositions": [
[
5,
3
]
]
}
}
Requires: {
"doorUnlockedAtNode": 4
}
"canMidairWiggle"
"canTrickyGrappleJump"
"canInsaneJump"
|
|
Glass Tunnel Grapple Teleport into Grapple Jump or Tube Intact (Lower Entrance) (Insane)
Glass Tunnel
From: 2
Bottom Right Door
To: 4
Top Door
Notable: true Swing to the right, shoot open the door above, and grapple jump through it. The grapple beam will need to be retracted while swinging to the right, to avoid bonking on the small platform. Entrance condition: {
"comeInWithGrappleTeleport": {
"blockPositions": [
[
5,
3
]
]
}
}
Requires: {
"doorUnlockedAtNode": 4
}
{
"or": [
{
"and": [
"canMidairWiggle",
"canTrickyGrappleJump",
"canInsaneJump"
]
},
{
"and": [
{
"not": "f_MaridiaTubeBroken"
},
"canRiskPermanentLossOfAccess"
]
}
]
}
|
|
Glass Tunnel Grapple Teleport into Grapple Jump or Tube Intact (Right Entrance) (Insane)
Glass Tunnel
From: 3
Top Right Doorway
To: 4
Top Door
Notable: true Swing to the right, shoot open the door above, and grapple jump through it. The grapple beam will need to be retracted while swinging to the right, to avoid bonking on the small platform. Entrance condition: {
"comeInWithGrappleTeleport": {
"blockPositions": [
[
5,
3
]
]
}
}
Requires: {
"doorUnlockedAtNode": 4
}
{
"or": [
{
"and": [
"canMidairWiggle",
"canTrickyGrappleJump",
"canInsaneJump"
]
},
{
"and": [
{
"not": "f_MaridiaTubeBroken"
},
"canRiskPermanentLossOfAccess"
]
}
]
}
|
|
From: 4
West Leg Sand
To: 2
East Leg Right Door
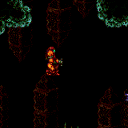
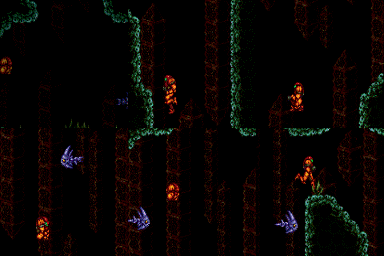
Notable: true Use the grapple block to initiate a Grapple Jump to climb up to the higher level and above the water line. Aiming the Grapple Jump to line up with the one tile hole is difficult and Samus is moving at high speeds. Escaping the water is also difficult as Samus must be standing at the water line when jumping for the next part of the grapple jump. It may be easier to jump out of the water by turning HiJump off. A Grapple Jump can be a spin jump by running briefly before jumping and that can be used to begin Walljumping or Space Jumping. Requires: "canSuitlessMaridia"
"canTrickyGrappleJump"
"canMidairWiggle"
{
"or": [
{
"enemyDamage": {
"enemy": "Menu",
"type": "contact",
"hits": 1
}
},
"SpaceJump",
{
"and": [
"canConsecutiveWalljump",
{
"or": [
"ScrewAttack",
"canStaggeredWalljump"
]
}
]
}
]
}
|
|
From: 4
West Leg Sand
To: 5
Junction Above Grapple Block
Notable: true Use the grapple block to initiate a Grapple Jump to climb up to the higher level. Aiming the Grapple Jump to line up with the one tile hole is difficult and Samus is moving at high speeds. Requires: "canSuitlessMaridia" "canTrickyGrappleJump" "canMidairWiggle" |
.png)
.gif)
.png)
.gif)
