canRJump (Expert)
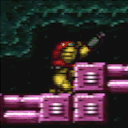
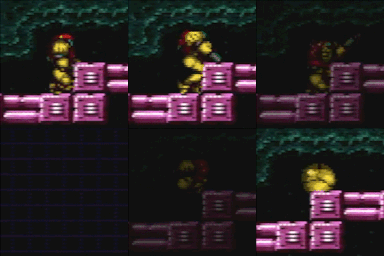
A technique for mid-air morphing in a 3-tile-high space in air physics, or a 2-tile-high space in water physics. The key point is that pausing can be used to morph much faster than double pressing down. "R" means holding angle aim before the first down press so Samus has a smaller hitbox for slightly more space to work with. 1) Hold angle aim (up or down) and down while in a crouching position. 2) Pause and jump as late as possible. 3) Release all inputs during the pause screen. 4) Hold jump and down and forward after the pause screen clears but before game control resumes.
Dependencies: canDisableEquipment, canMidAirMorph
Strats ()
|
Overload PLMs using the scroll block at the top of the stairs immediately in front of the bomb blocks. Reach the bottom and pass through the bomb blocks while still in G-mode. Entrance condition: {
"comeInWithGMode": {
"mode": "any",
"morphed": true
}
}
Requires: {
"or": [
"h_canArtificialMorphSpringBall",
"h_canArtificialMorphBombs",
{
"and": [
"Morph",
"h_canFourTileJumpMorph"
]
}
]
}
|
|
Overload PLMs using the scroll block at the top of the stairs immediately in front of the bomb blocks. Fall down to the lower bomb blocks while still in G-mode Morph. Entrance condition: {
"comeInWithGMode": {
"mode": "any",
"morphed": true
}
}
Requires: {
"or": [
"h_canArtificialMorphSpringBall",
"h_canArtificialMorphBombs",
{
"and": [
"Morph",
"h_canFourTileJumpMorph"
]
}
]
}
|
|
Overload PLMs using the scroll block at the top of the stairs next to the bomb blocks. Entrance condition: {
"comeInWithGMode": {
"mode": "any",
"morphed": true
}
}
Requires: {
"or": [
"h_canArtificialMorphSpringBall",
"h_canArtificialMorphBombs",
{
"and": [
"Morph",
"h_canFourTileJumpMorph"
]
}
]
}
|
|
Overload PLMs using the scroll block at the top of the stairs next to the bomb blocks. Fall down and pass through bomb wall at the bottom while still in G-mode. Entrance condition: {
"comeInWithGMode": {
"mode": "any",
"morphed": true
}
}
Requires: {
"or": [
"h_canArtificialMorphSpringBall",
"h_canArtificialMorphBombs",
{
"and": [
"Morph",
"h_canFourTileJumpMorph"
]
}
]
}
|
|
Entrance condition: {
"comeInWithGMode": {
"mode": "any",
"morphed": true
}
}
Requires: {
"or": [
"h_canArtificialMorphSpringBall",
"h_canArtificialMorphBombs",
{
"and": [
"Morph",
"h_canFourTileJumpMorph"
]
}
]
}
|
|
Requires: "h_canDestroyBombWalls" "h_canThreeTileJumpMorph" |
|
From: 2
Bottom Left Door
To: 6
Junction Behind Fune
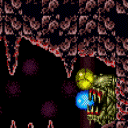
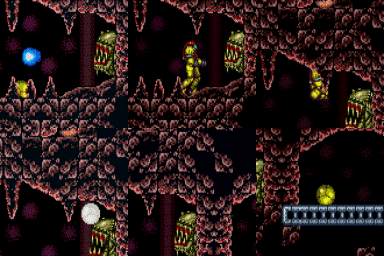
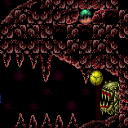
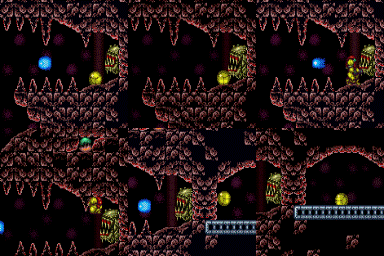
Notable: true A well-done mid-air morph can get up and over the Fune using the boost from a projectile hit. It's best to hit the flame as soon as it spawns. It's a 2.5 tile high mid air morph. It can be performed similar to how a 2 or 3 tile high morph is performed. Requires: "h_canFourTileJumpMorph"
"canNeutralDamageBoost"
"canTrickyJump"
{
"enemyDamage": {
"enemy": "Fune",
"type": "fireball",
"hits": 3
}
}
|
|
From: 2
Bottom Left Door
To: 6
Junction Behind Fune
Notable: true A paricularly precise mid-air morph can get up and over the Fune without damage. Stand a half tile away from the Fune when jump morphing for a higher ceiling. It's a 2.5 tile high mid air morph. It can be performed similar to how a 2 or 3 tile high morph is performed. Requires: "h_canFourTileJumpMorph" "canTrickyJump" |
|
From: 6
Junction Behind Fune
To: 2
Bottom Left Door
Requires: "canRJump" |
|
Requires: "h_canThreeTileJumpMorph" |
|
From: 5
Morph Tunnel Junction
To: 6
Junction Between Items
Requires: "h_canFourTileJumpMorph" |
|
Requires: "h_canThreeTileJumpMorph" |
|
From: 2
Right Door
To: 3
Junction Left of Morph Tunnel
Requires: "h_canThreeTileJumpMorph"
{
"obstaclesCleared": [
"A"
]
}
|
|
Roll all the way right before using Xray to stand up, aligned with the right side tiles. Partially clip into the floor to enable the next jump. Use an R-Jump to morph into the tunnel. The second morph ball sized hole can be passed by simply jumping out of the floor clip position with diagonal held. Requires: "h_canNavigateUnderwater" "canXRayStandUp" "canPartialFloorClip" "canRJump" |
