canBombGrappleJump (Insane)
Simultaneously use Grapple Beam to kill an enemy and detonate a bomb on Samus to gain the ability to jump for one frame. By jumping first and performing this trick in the air, Samus gets a second jump. This is most useful underwater to reach higher ledges. This trick is effectively double frame perfect and kills the enemy requiring either a room reset, or a respawning enemy.
Dependencies: canUseEnemies, canTrickyJump, canMidAirMorph, canCarefulJump, canUseGrapple, canTrivialMidAirMorph
Strats ()
|
From: 2
Bottom Left Door
To: 7
Lower Hills Junction
Notable: true 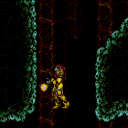
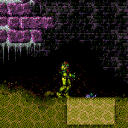
Jump into a mid-air morph, lay a Bomb, unmorph, use grapple to kill a Scisor, to be able to get a second jump mid-air. Requires: "h_canNavigateUnderwater" "HiJump" "canBombGrappleJump" |
|
From: 2
Bottom Left Door
To: 7
Lower Hills Junction
Notable: true 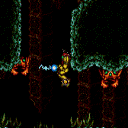
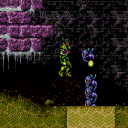
Position 2 Scisors so that they can each be used for a Bomb-Grapple-Jump, back to back. This gives a total of 3 jumps to climb from the bottom of Everest up to one of the lower peaks. In the likely event of failure, the room will need to be reset and the crabs repositioned for the next attempt. Requires: "h_canNavigateUnderwater" "canBombGrappleJump" "h_canCrouchJumpDownGrab" |
|
From: 1
Left Door
To: 5
Item
Notable: true 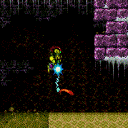
Lure a Puyo close to the sand and use it to Bomb-Grapple-Jump up to the Morph Ball maze. It helps to predict the jump pattern of the enemy. Requires: "canSuitlessMaridia" "canBombGrappleJump" "canCrouchJump" |
|
From: 4
Right Door
To: 6
Junction Right of Morph Passage
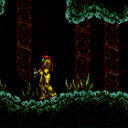
Use the respawning Zoas to double jump up to the Morph Ball maze. Requires: "canSuitlessMaridia" "h_canCrouchJumpDownGrab" "canBombGrappleJump" |
|
Cacatac Alley HiJumpless Double SpringBall Jump and Bomb-Grapple-Jump (Beyond)
East Cactus Alley Room
From: 5
Bottom Middle Junction
To: 4
Top Right Ledge Junction
Notable: true 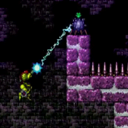
1) Crouch jump and then SpringBall jump. 2) Bomb-Grapple-Jump using the distant Cacatac who is above the water. 3) SpringBall jump again just as Samus exits the water. Requires: "canBombGrappleJump" "canDoubleSpringBallJumpMidAir" "h_canMaxHeightSpringBallJump" |