canArtificialMorph (Extreme)
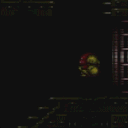
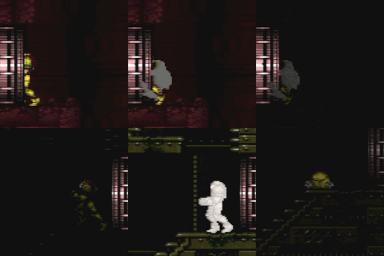
Ability to obtain artificial morph with G-mode. For low-energy G-mode setups, turn around after reserves finish filling but before knockback frames expire (a 4-frame window when entering G-mode with 4 reserve energy). For high-energy (immobile) setups, instead turn around while taking knockback from the enemy that returns control to Samus (a 5-frame window) This results in Samus entering a morph ball state without needing to have collected or equipped Morph.
Dependencies: canEnterRMode, canUseEnemies, canEnterGMode
Strats ()
|
From: 4
Lower Section - Top Right Door
To: 8
Bridge Right Door (Same Connection as Lower Section - Bottom Right Door)
Notable: true Entrance condition: {
"comeInWithGMode": {
"mode": "direct",
"morphed": false
}
}
Requires: "canSkipDoorLock"
{
  "or": [
    "canArtificialMorph",
    "canWalljump",
    "SpaceJump",
    {
      "and": [
        "h_canIBJ",
        {
          "or": [
            "Gravity",
            "h_canJumpIntoIBJ",
            "h_canBombHorizontally"
          ]
        }
      ]
    },
    {
      "and": [
        "HiJump",
        "canSpringBallJumpMidAir"
      ]
    },
    "canPreciseGrapple"
  ]
}
"canXRayClimb"
|
|
From: 4
Lower Section - Top Right Door
To: 8
Bridge Right Door (Same Connection as Lower Section - Bottom Right Door)
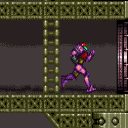
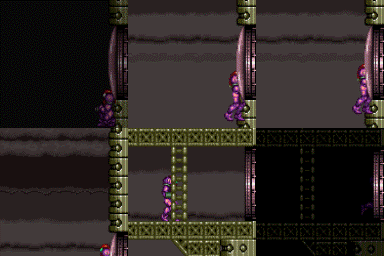
Notable: true Enter with G-mode direct, back up to between 1 and 6 pixels from the door transition, and activate X-ray to get very deep stuck in the door. Climb up 1 screen, and perform a turnaround buffered spin-jump away from the door to trigger the transition, bypassing any lock on the door. Entrance condition: {
"comeInWithGMode": {
"mode": "direct",
"morphed": false
}
}
Requires: {
"or": [
"canArtificialMorph",
"canWalljump",
"SpaceJump",
{
"and": [
"h_canIBJ",
{
"or": [
"Gravity",
"h_canJumpIntoIBJ",
"h_canBombHorizontally"
]
}
]
},
{
"and": [
"HiJump",
"canSpringBallJumpMidAir"
]
},
"canPreciseGrapple"
]
}
"canXRayClimb"
Bypasses door shell: true |
|
From: 4
Lower Section - Top Right Door
To: 12
Top Junction
Climb up 2 screens. Entrance condition: {
"comeInWithGMode": {
"mode": "direct",
"morphed": false
}
}
Requires: {
"or": [
"canArtificialMorph",
"canWalljump",
"SpaceJump",
{
"and": [
"h_canIBJ",
{
"or": [
"Gravity",
"h_canJumpIntoIBJ",
"h_canBombHorizontally"
]
}
]
},
{
"and": [
"HiJump",
"canSpringBallJumpMidAir"
]
},
"canPreciseGrapple"
]
}
"canXRayClimb"
|
|
From: 2
Middle Right Door
To: 3
Top Right Door
Enter with G-mode direct, back up to between 1 and 6 pixels from the door transition, and activate X-ray to get very deep stuck in the door. Climb up 1 screen, and perform a turnaround buffered spin-jump away from the door to trigger the transition, bypassing any lock on the door. Entrance condition: {
"comeInWithGMode": {
"mode": "direct",
"morphed": false
}
}
Requires: "h_heatProof"
{
"or": [
"canWalljump",
"h_canCrouchJumpDownGrab",
"HiJump",
"h_canFly",
"canArtificialMorph"
]
}
"canXRayClimb"
Bypasses door shell: true |


