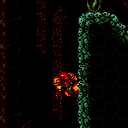
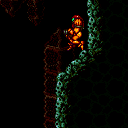
canLongUnderwaterWallJump (Insane)
The ability to gain height by walljumping underwater against a single wall. This tech assumes Samus has HiJump and expects gaining more than 1 tile of height through consecutive walljumping.
Dependencies: canConsecutiveWallJump, canMidairWiggle, canUnderwaterWallJump, canSuitlessMaridia
Strats ()
From: 1
Bottom Left Door
To: 5
Platform Junction Near Top Left Door
Back into the right corner to jump high enough to reach the first overhang. In case of carrying a flash suit, it is possible, though difficult, to get up without killing the Skultera, or to kill the Skultera with hero shots, in case Morph is not available. Requires: "canLongUnderwaterWallJump"
{
"or": [
"h_midAirShootUp",
"canBeExtremelyPatient"
]
}Unlocks doors: {"nodeId":1,"types":["ammo"],"requires":[]} |
From: 2
Bottom Left Door
To: 1
Top Left Door
Requires: "canLongUnderwaterWallJump" |
From: 2
Bottom Left Door
To: 1
Top Left Door
Requires: "canTrickyCarryFlashSuit"
"canLongUnderwaterWallJump"
"h_storedSpark"
{
"shinespark": {
"frames": 12,
"excessFrames": 8
}
} |


